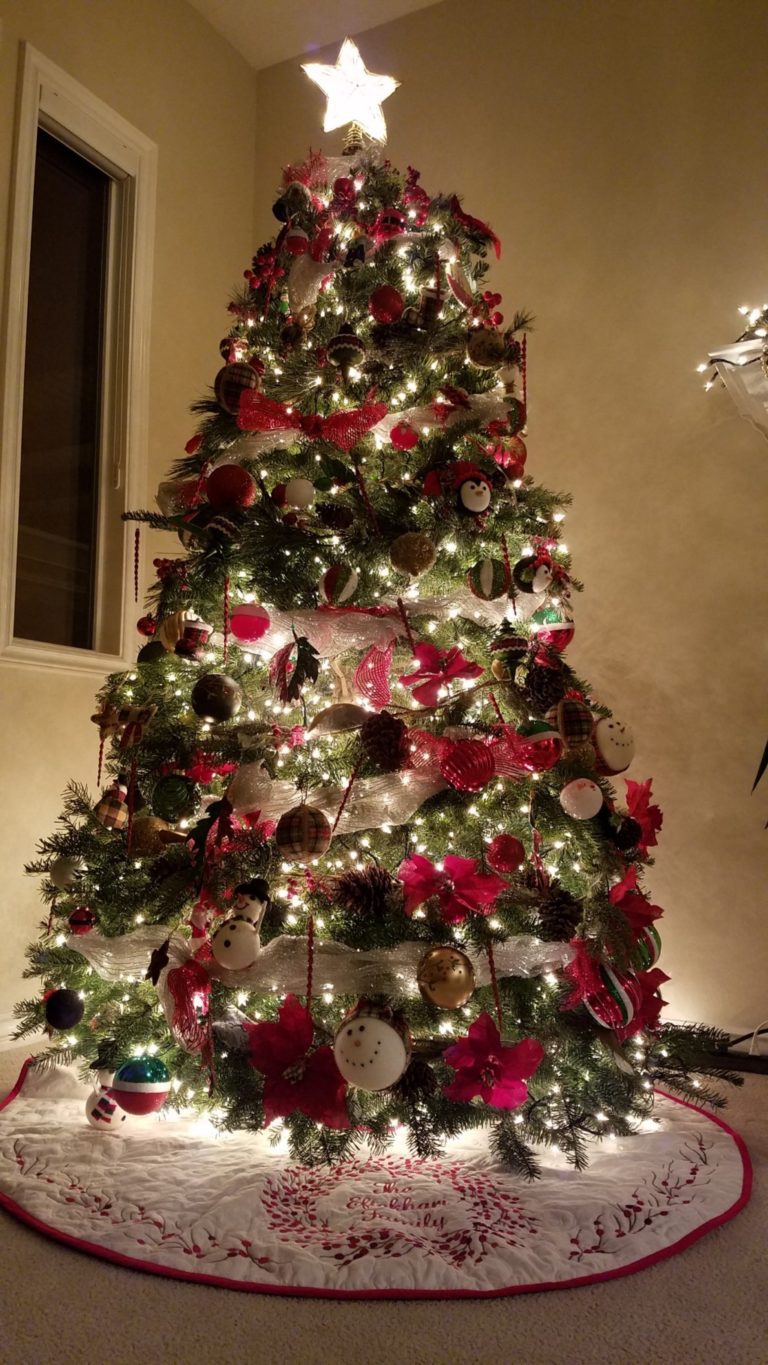
 Do you look at Pinterest and Instagram and think you can’t make your tree look like those on the screen? Well, I’m here to tell you that you CAN make an Instagram-worthy Christmas tree!
Secret #1: Lights!
It’s all about the lights. Just as in photography, lighting is everything. Even if you don’t have fancy garlands or lots of ornaments, lighting your tree is the one step you simply cannot skimp on.
Secret #2: Where/how you place them matters!
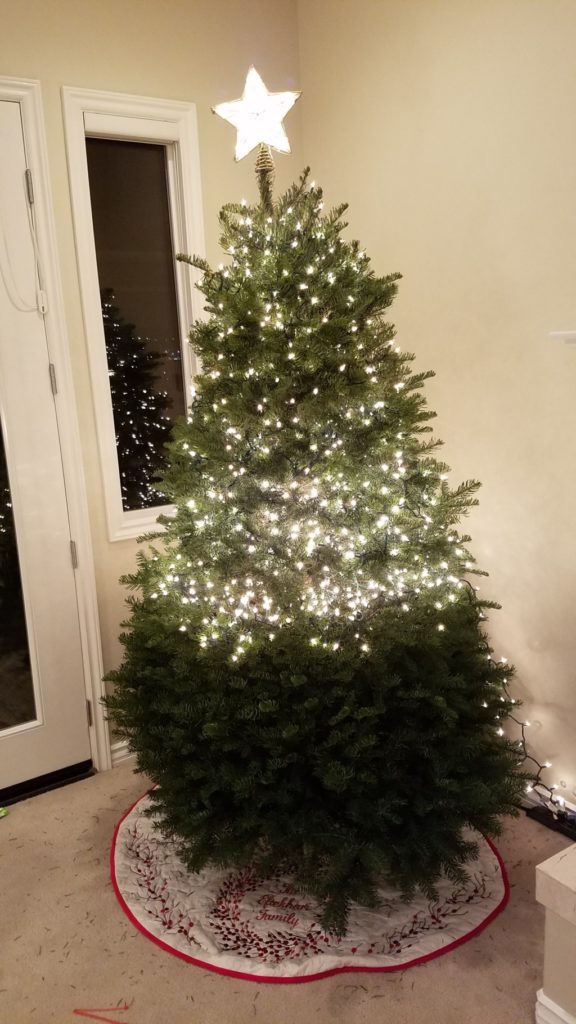
Has your tree been brighter on the top 3rd and pretty dismal by the time you get to the bottom? Well my friend, you need to do a few things:
First: Make sure you have enough lights.
For a 7’-8′ tree, I use about 12-15 strands of lights. (**Note: you must have a surge protector, and only string 3 strands maximum per outlet.**)
Second: I feel this goes without saying, but will say it all the same—check each strand for loose/broken bulbs.
Also, plug each one in to make sure it is fully lit. Test that strand with the next/previous strand as you go along! Sometimes a strand will light up when not connected to another strand, but not work when connected. Save yourself some time and frustration and test it before you put it on the tree!
Third: Spacing and density is key.
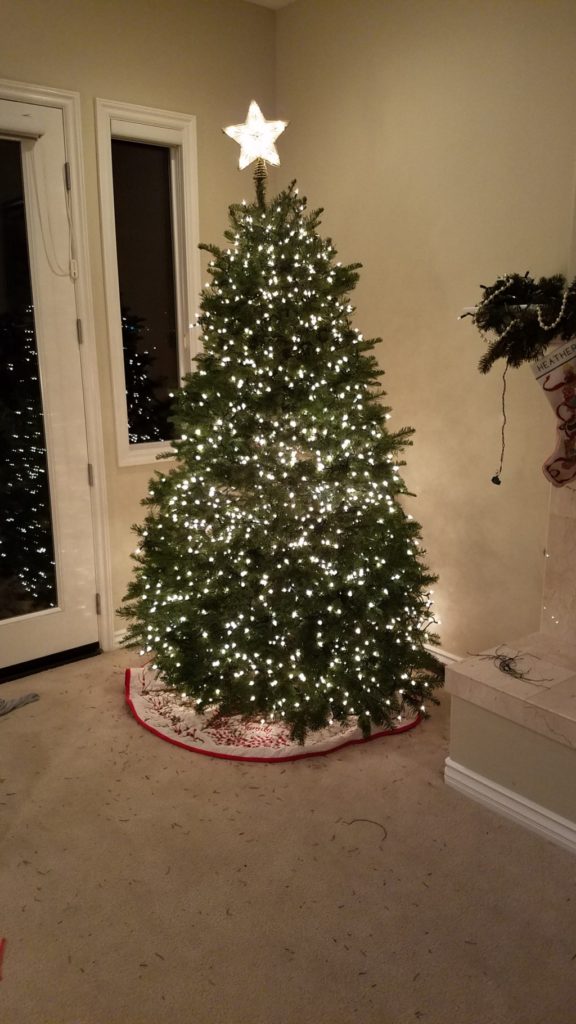
If your tree usually looks much brighter on the top than bottom, this is your issue. Make sure you space your lights closely for a glowing effect.
Fourth: String your lights in a horizontal zigzag pattern.
Do not, I repeat, DO NOT string your lights vertically! Begin your lights at the top of the tree and work your way to the bottom. The zigzag is not only from right to left (or left to right, depending on your preference), but also from the trunk of the tree to the tips of the branch. Stringing the lights in a zigzag pattern serves two purposes: you don’t have to attempt to bear hug your tree/chuck them to the other side to put them on and probably the best reason to do it this way–it’s so much easier to take down! All you need to do is just give it a gentle tug and the strands will come right off.
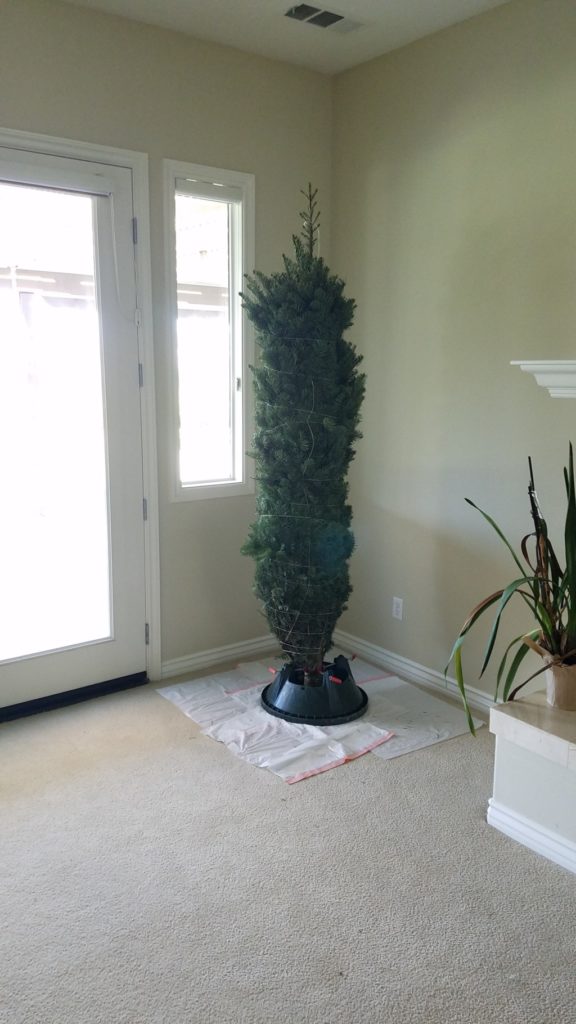
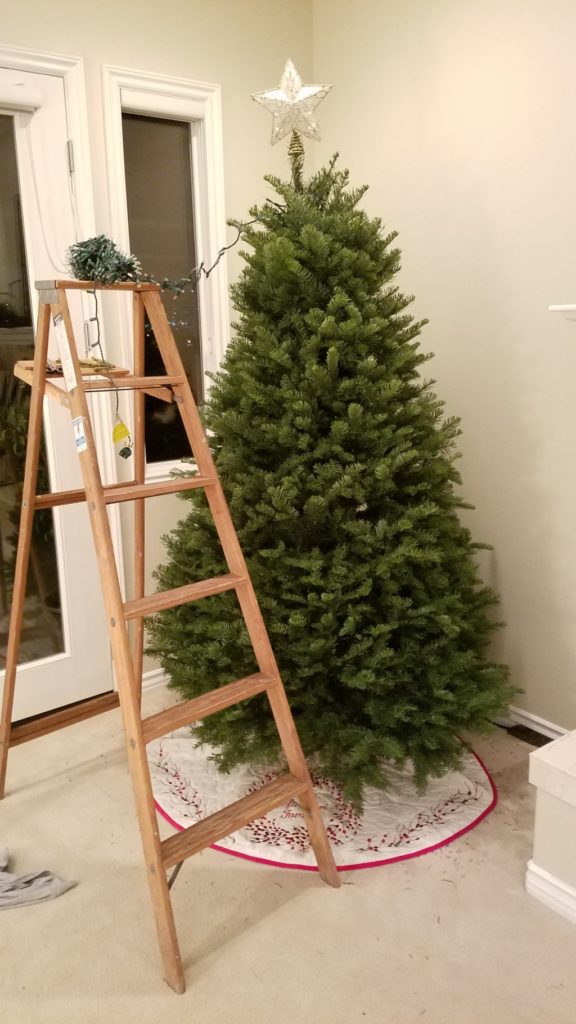
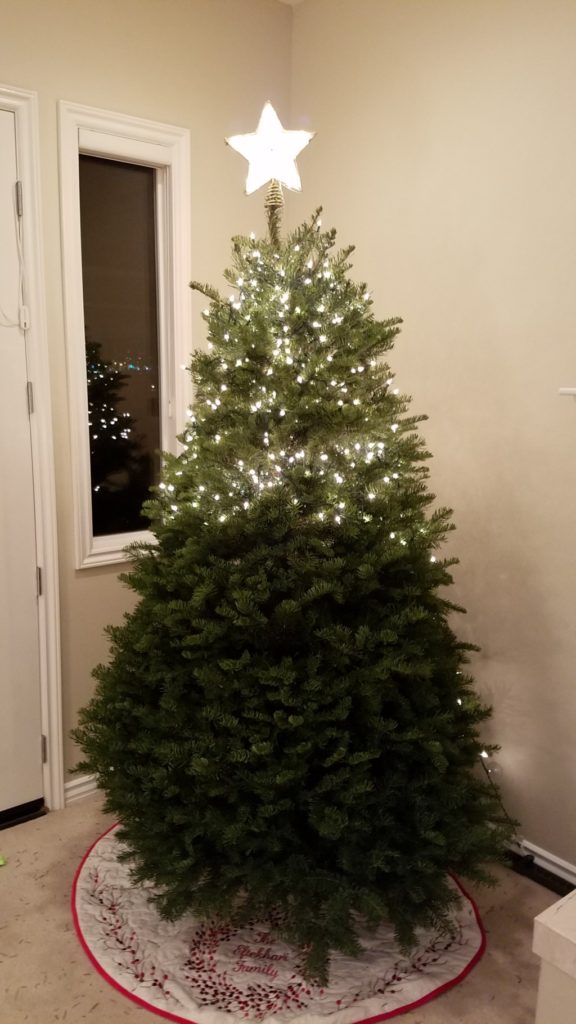
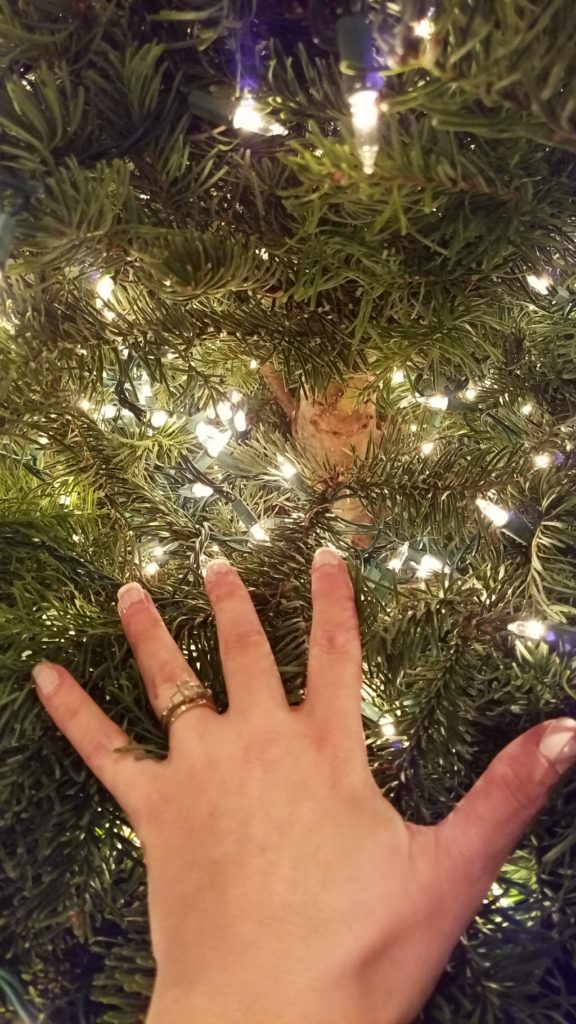
Secret #3: It’s all about getting your lights to the center/trunk of the tree!
If you only put the lights toward the outer edges, you won’t achieve that amazing glow from within that makes your guests say, “Wow! Your tree looks fabulous!!!” Cram those lights all the way in there! (You’ll be glad you did).
A Few More Suggestions:
- Artificial trees: Many artificial trees are “pre-lit” these days. If you have one, you may be thinking that this post doesn’t apply. Um, no. Sure, there are some lights on there, but if you’re going for that wow factor, you’re going to have to roll up your sleeves (actually, I recommend wearing a long sleeve shirt to avoid scratches) and start adding those lights!
- A note on colored lights: If you’re doing colored lights, I recommend completing the previous steps and then adding the colored lights to the edges. You can absolutely use all colored lights, but I personally feel you don’t get the same brightness coming from the innermost part of the tree from colored lights as you do with clear.
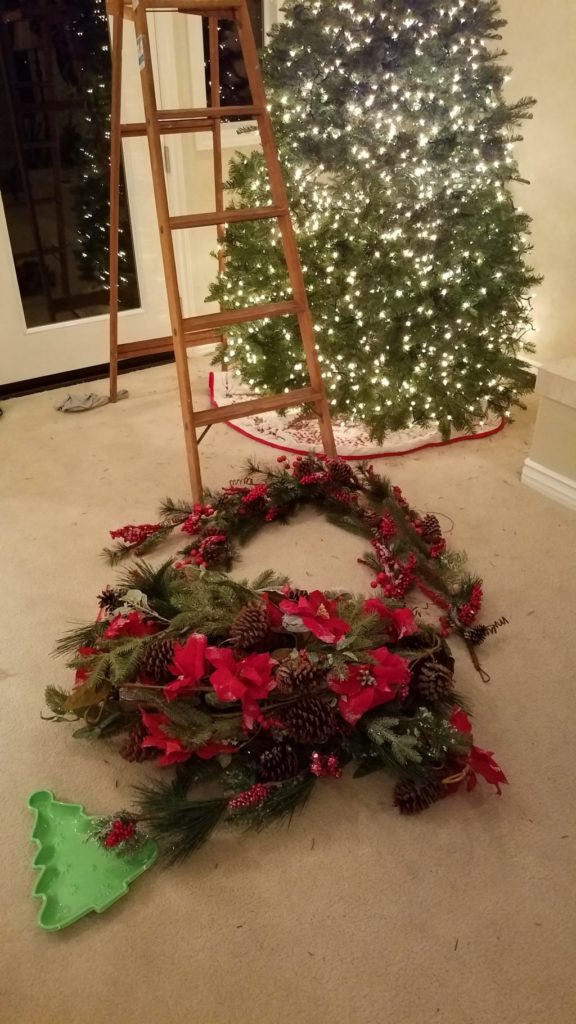
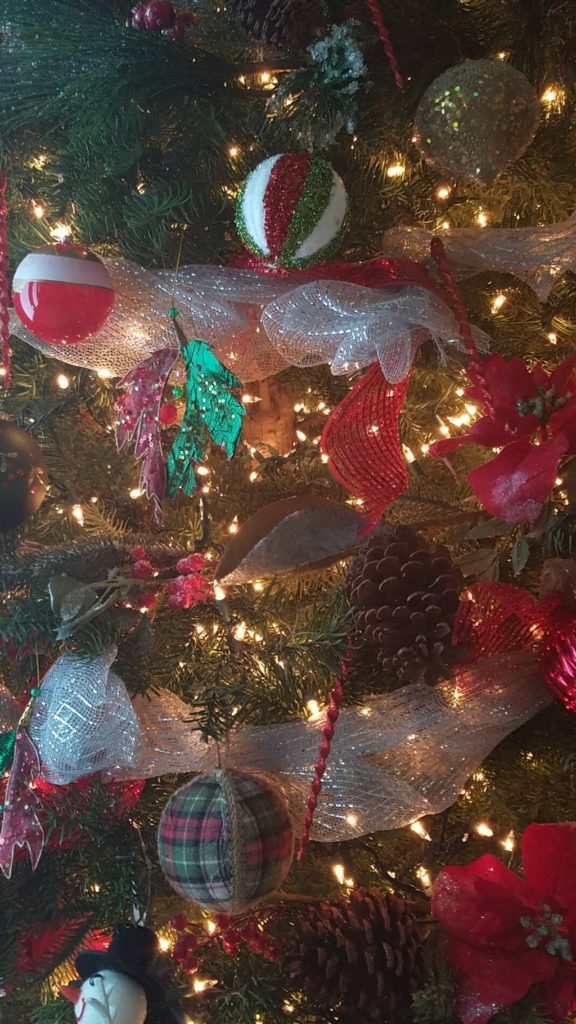
- What do I put on the tree? From there, it’s personal preference. Minimalist country? Simply add some strung popcorn, sparse antique ornaments, and a few burlap accents. Gold, glitzy, and glam? Add pearl and gold garland, lots of white, clear and gold ornaments in different shapes, sizes, and textures, and finish with ribbons of thick gold and white ribbon cascading down the tree. Really, it’s all up to you.
- My last suggestion: Vary the size and texture of your ornaments. Small, medium, large. Shiny, matte, glittery. Don’t be afraid of feathers, flowers (artificial are best as they won’t wilt), and even fur accents!
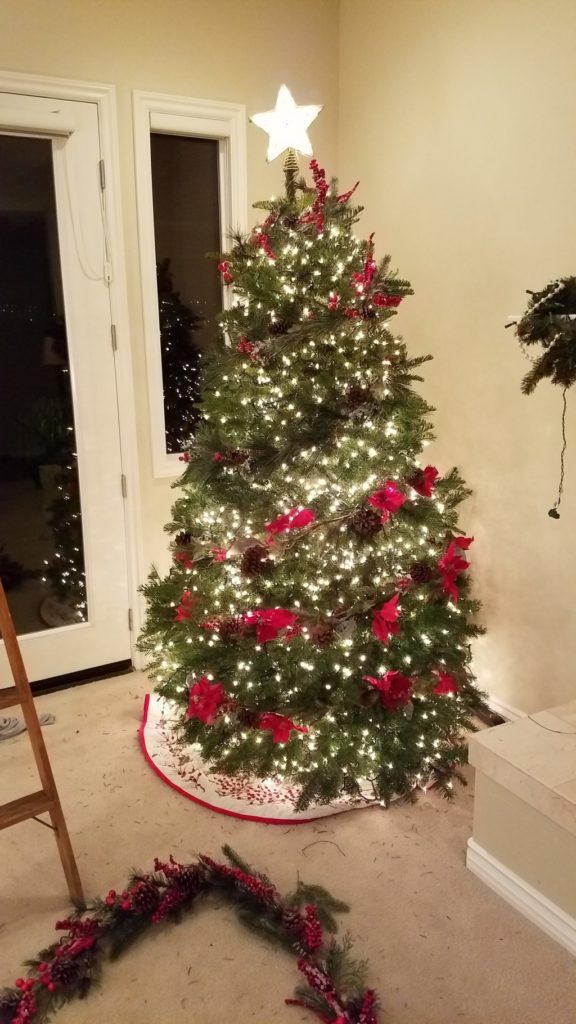
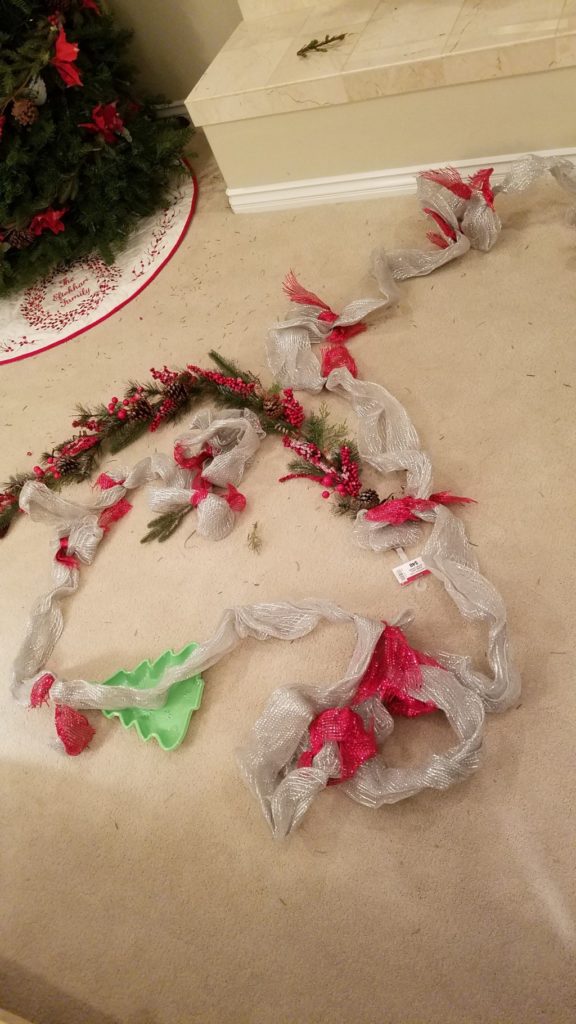
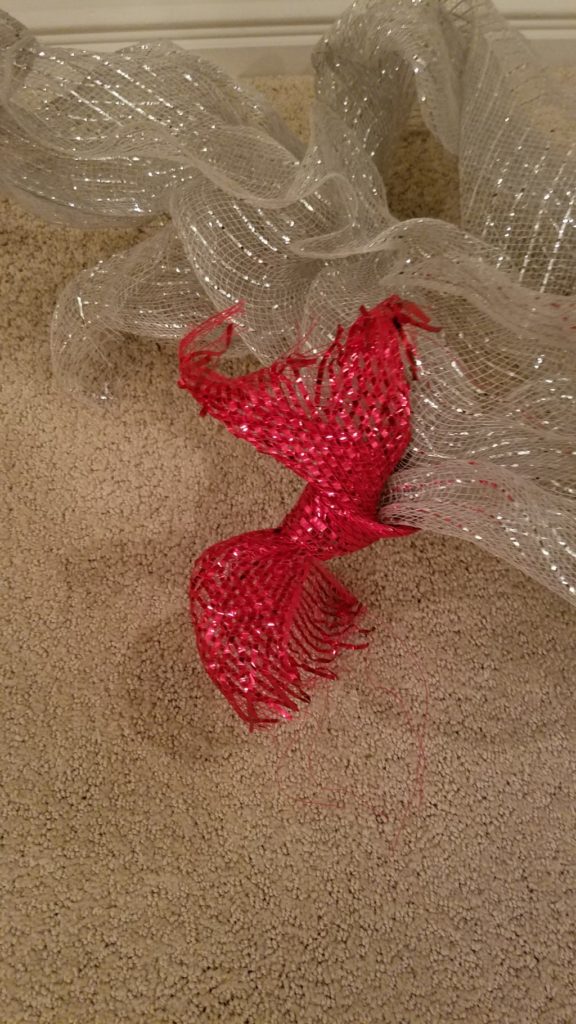
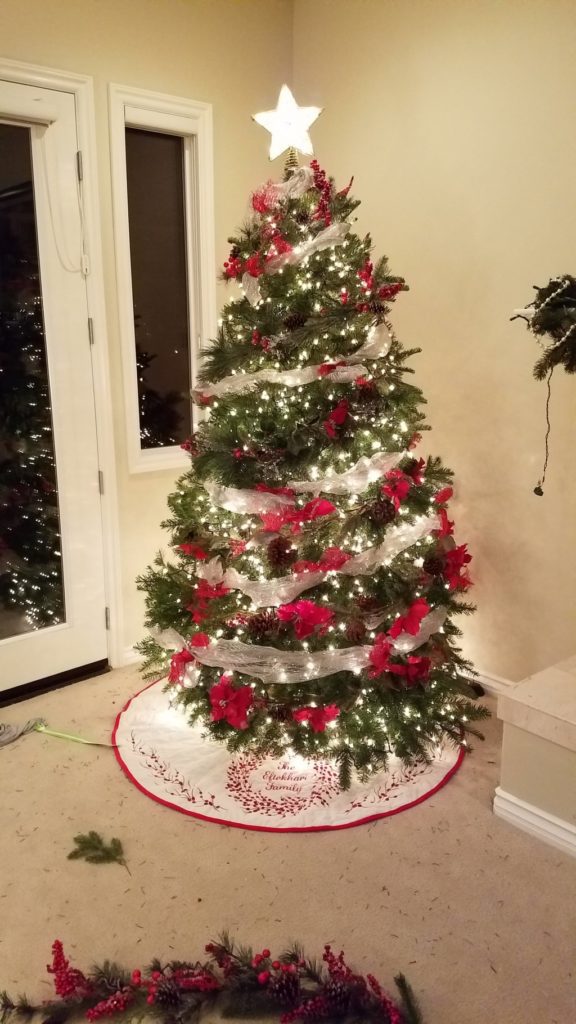
![20181130_191953_resized[1154] 20181130_191953_resized[1154]](https://orangecounty.momcollective.com/wp-content/uploads/2018/11/20181130_191953_resized1154-576x1024.jpg)
Get creative, get decorating, and start posting those pics and taking in those likes on Instagram!
P.S. Since my kids still can’t resist touching, hugging, and playing with every aspect of the tree, I feel the need to thank whomever invented and decided to push for the shatterproof (Ahem! more like resistant…) ornaments to be widely available in the last few years. Seriously. Kudos. I still love my beautiful glass ornaments – sadly collecting dust in my garage – but am so thankful for these chunks-o-plastic!
I hope you enjoy my step-by-step guide to a beautiful tree!
