


Having a child during the holidays makes me think of making salt dough ornaments, yet I’ve never actually made them yet myself. Well I’m so glad we finally came around to making them this year!
I think what prompted it was having a newborn so close to the holidays and being remorseful that I never captured little handprints and footprints with Celeste. I can’t believe how big her hands and feet are now compared to Orion’s 5 week imprint.
So we finally did the thing thanks to Pinterest. With so many fun ornaments to make and recipes to try we made quite the variety considering this is our first batch ever!
The recipes are all roughly the same, just add more flour if it’s too wet and sticky, or add more water if it’s too dry.
Ingredients:
4 cups flour
1 cup salt
1.5 cups water
Heat oven to 200º (F)
Instructions:
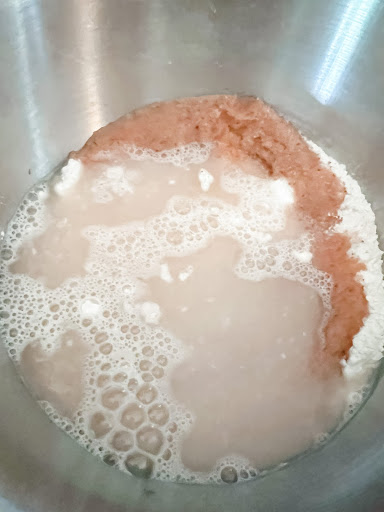
Mix all ingredients together to form the dough. I used my Kitchen Aid.
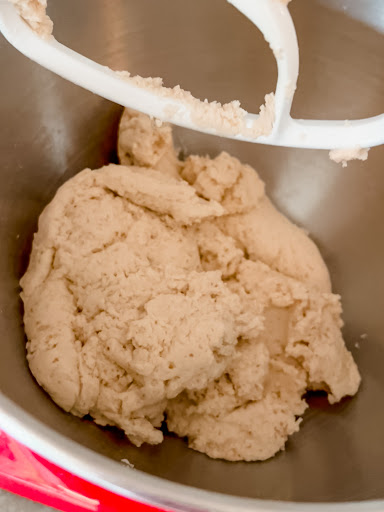
Section dough into smaller pieces so it’s easier to roll.
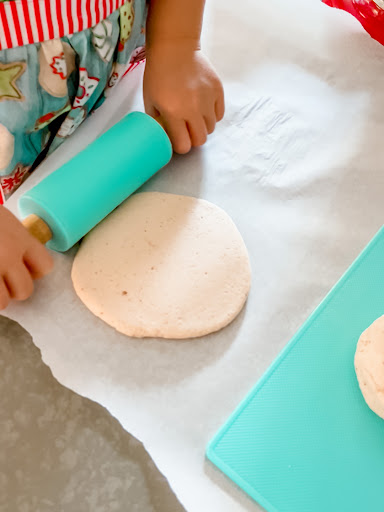
Roll on parchment paper, keeping it smooth and even, about ¼-½ inch thick. This is the base for all the fun imprints or basic cookie cutters.
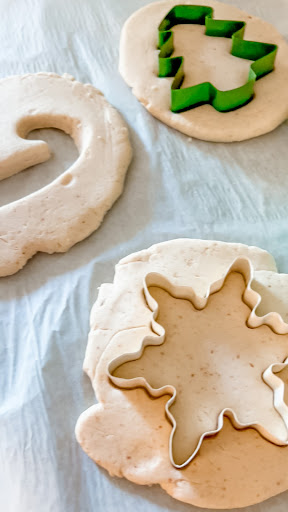
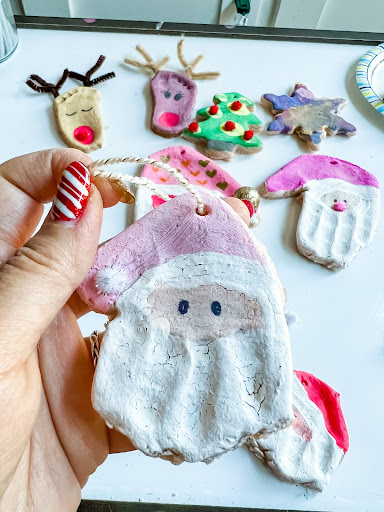
(Aside from the fun memorable ornaments listed below we also did simple Christmas shaped ornaments like snowflakes, gingerbread men, snowmen, etc.)
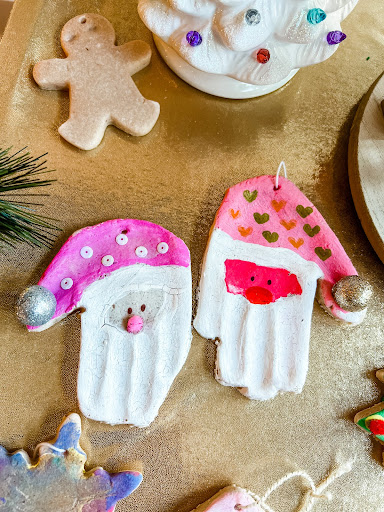
Handprint Santa:
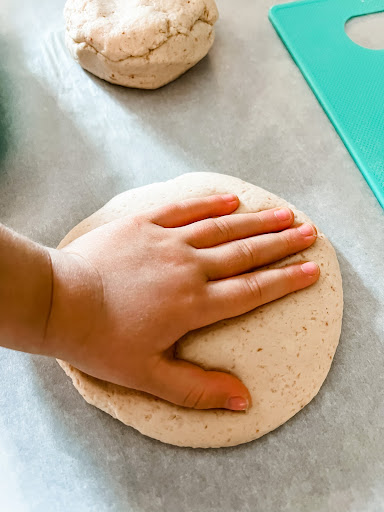
Place your child’s hand into the dough, like a mitten (so four fingers together and thumb out), The four fingers will be Santa’s beard and the thumb will be Santa’s hat. Carefully lift so as to make a clean imprint.
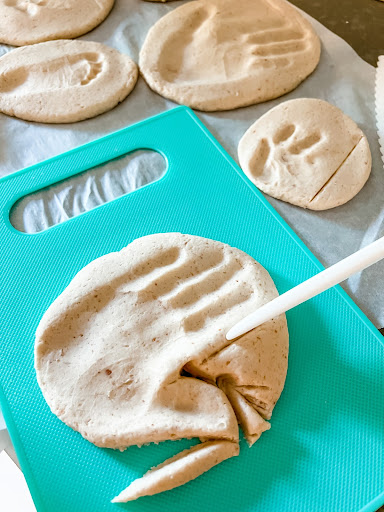
With a sharp knife cut out a ¼ border around the hand.
Footprint reindeer
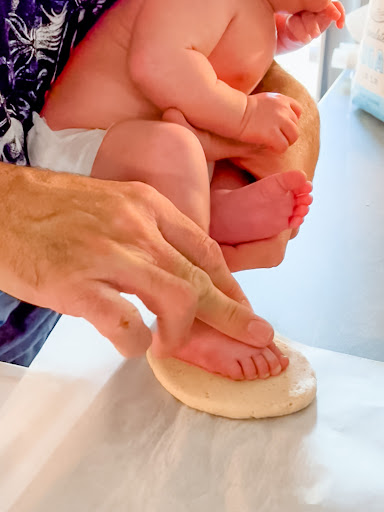
Place your child’s foot into the dough then carefully lift. With a sharp knife cut out a ¼ border around the footprint as you did the handprint above.
Thumbprint Christmas Trees
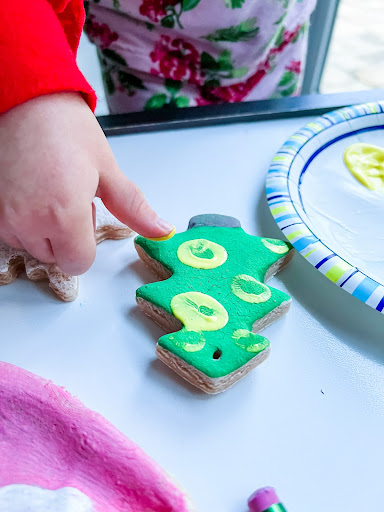
While we painted our thumbprints on these, a great option is imprinting your child’s fingerprints on the tree shape cutout.
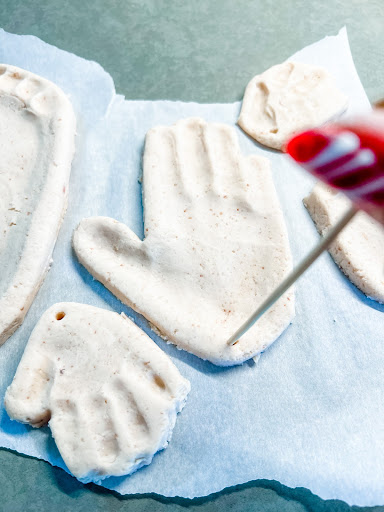
Once all your shapes are cut and imprints have been made, take a lollipop or kabob stick and poke a hole at the top big enough for your string or floss to fit through. Then place ornaments into the heated oven and bake for about 2 hours.
Let cool for a couple hours before you start decorating.
Decorating
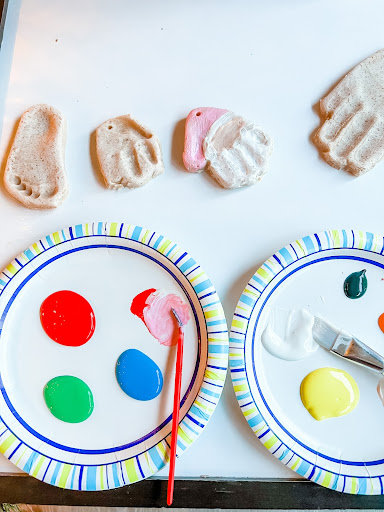
For the paint we used Crayola paints because that’s what we always have on hand but acrylic works great. We also used marker for some on top of the paint.
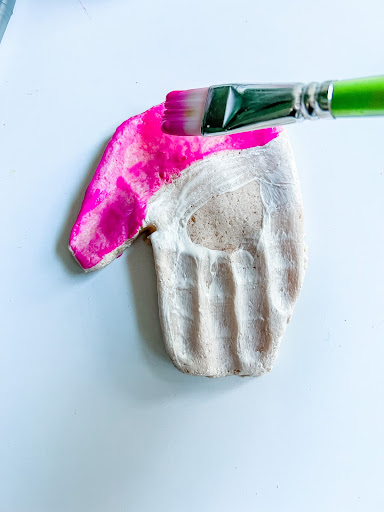
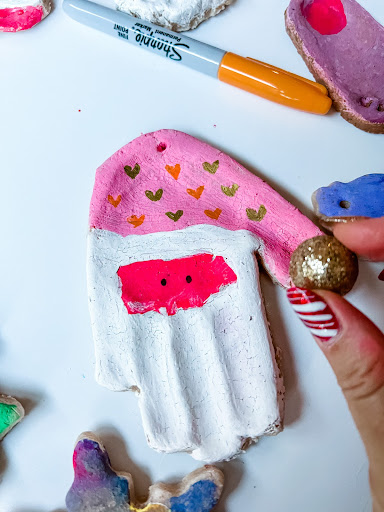
For each of these feel free to embellish as much as you like. It can be as simple or as blinged out as you want it to be. Aside from paint we also used markers, mini poms, and sequins. Glitter would be a good option too but I wasn’t in the mood to clean that up!
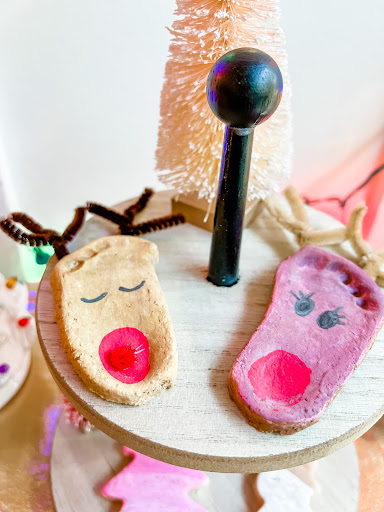
For the reindeer footprints we used pipe cleaners as the antlers. One pipe cleaner makes a set of antlers. Simply cut in half, then cut each half in half again. Twist one quarter piece over another quarter piece for one antler and once finished simply hot glue it to the backside of the ornament.
Use string, ribbon, yarn, whatever you want to loop through the hole and hang it on your tree.
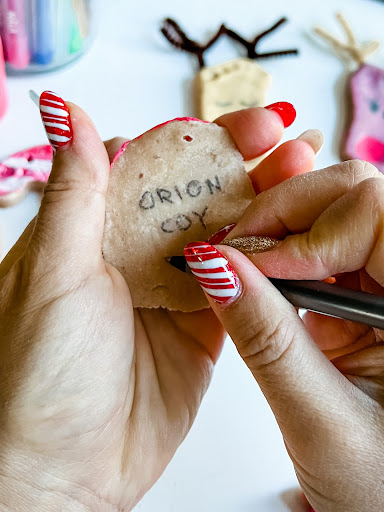
Write the name of the child and the date on the back as a nice memento from this year.
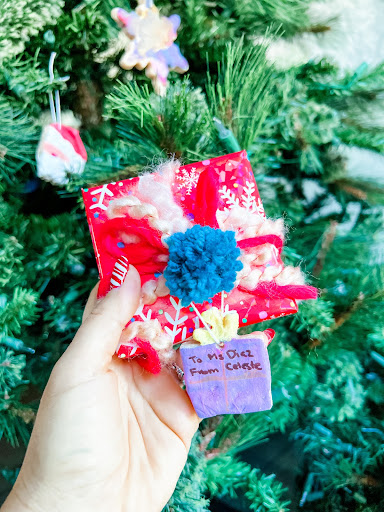
We shared these with friends and family, and made a special gift for Celeste’s teachers.
Have you made salt dough ornaments before? What do you like to make?


